
Bambu Lab P2S 3D Printer
History
After two Bambu Lab A1 3D Printers and a P1S, I saw the release of the P2S and had my eye on it for some time. It was being hailed as, “The PS1 reimagined.” Then Bambu Lab had their 4th Anniversary sale and the price was good (first time this printer was on sale), so I bought two and decided to sell the other ones. While I have been happy with the A1 and the P1S, I thought it would be nice to have two matching printers for consistency. The other reason was wanting two printers that protect the filament from humidity, which has been an issue for me.
The Bambu Lab P2S
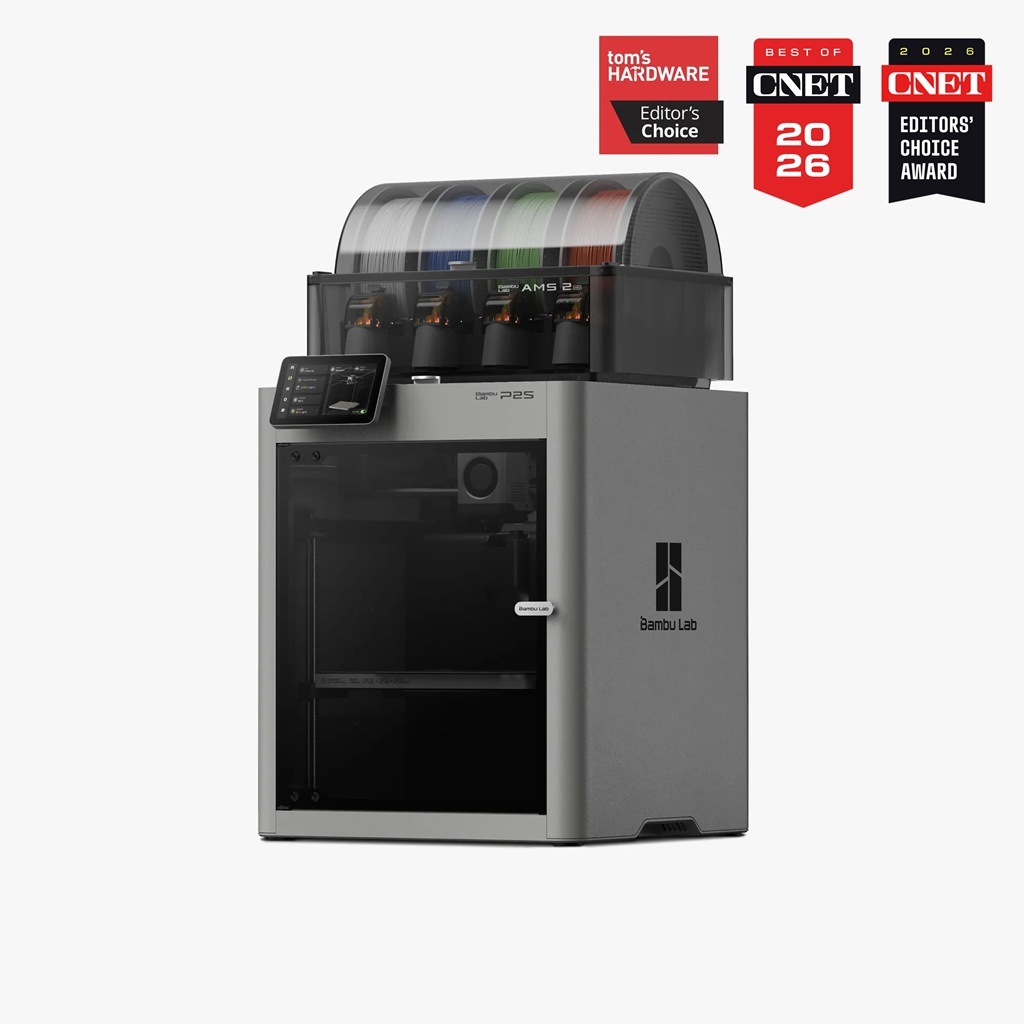
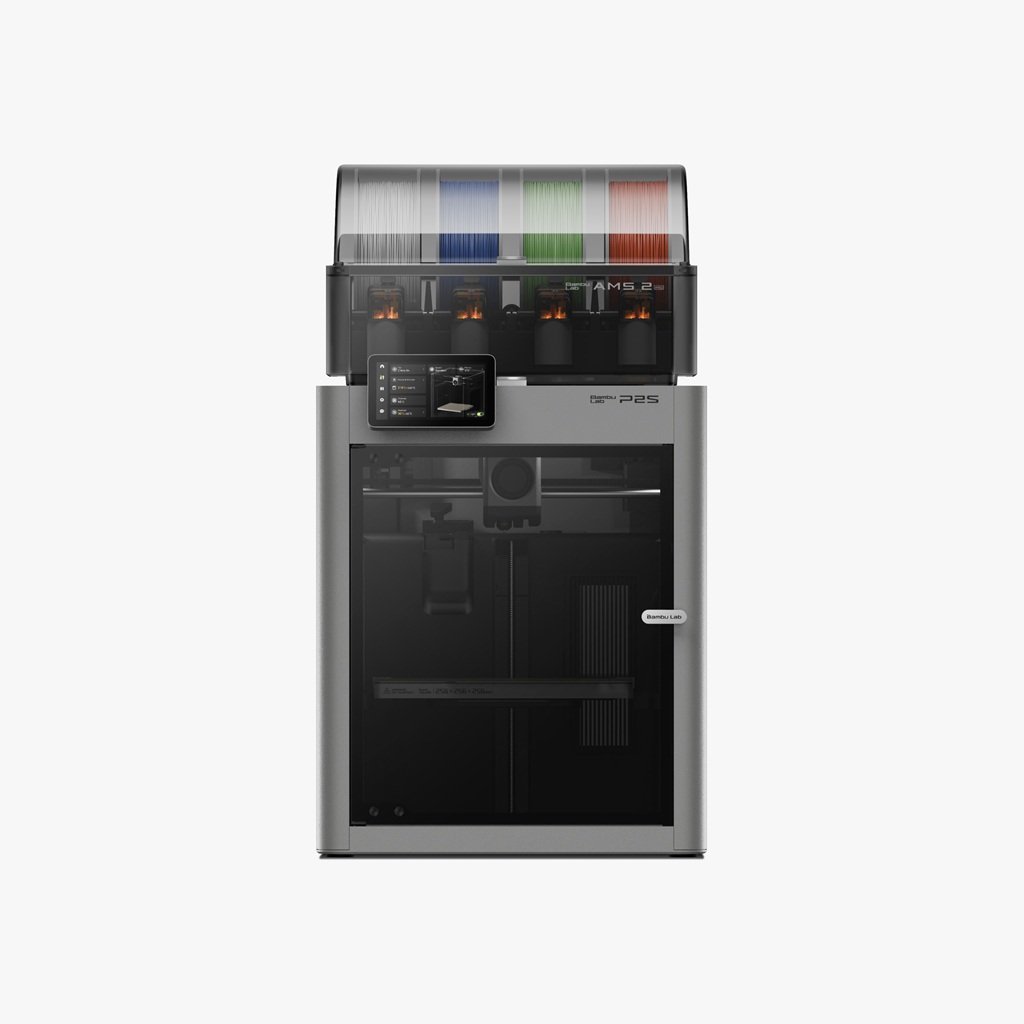
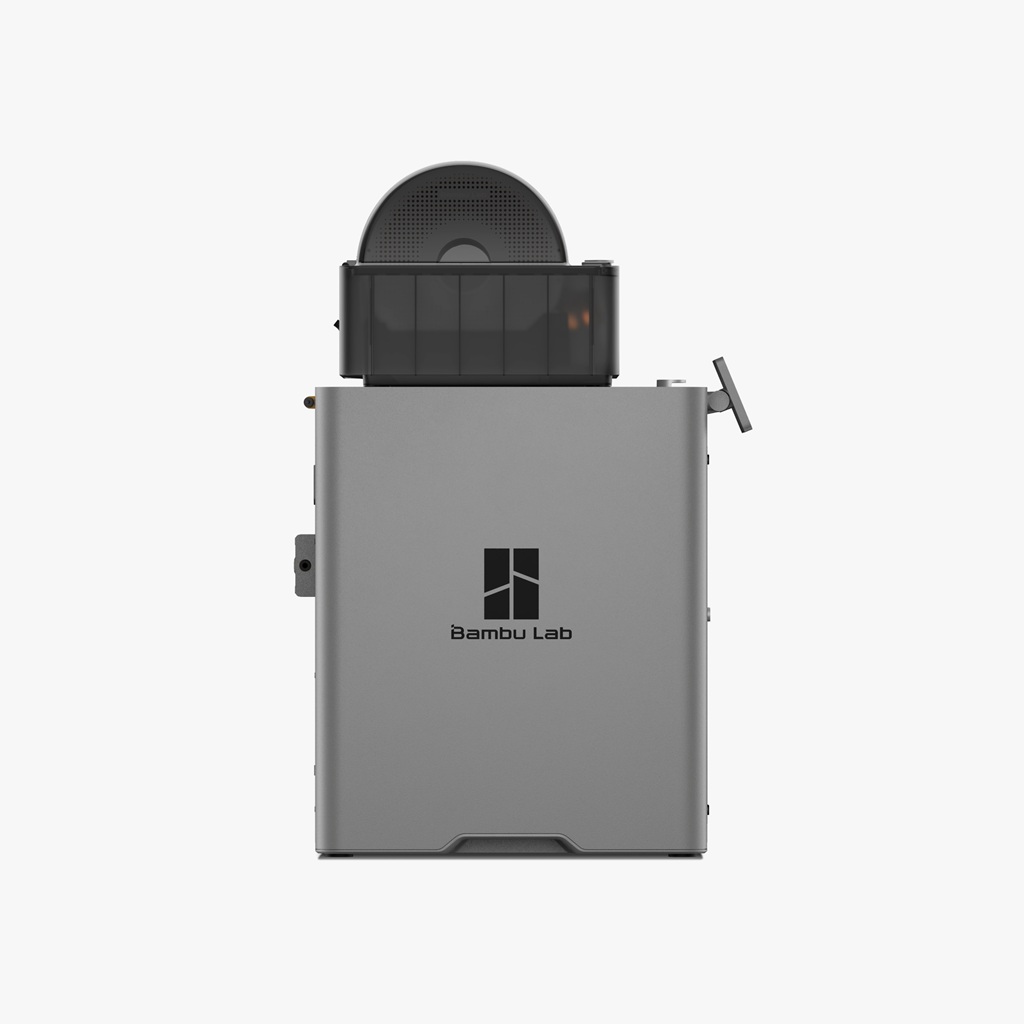
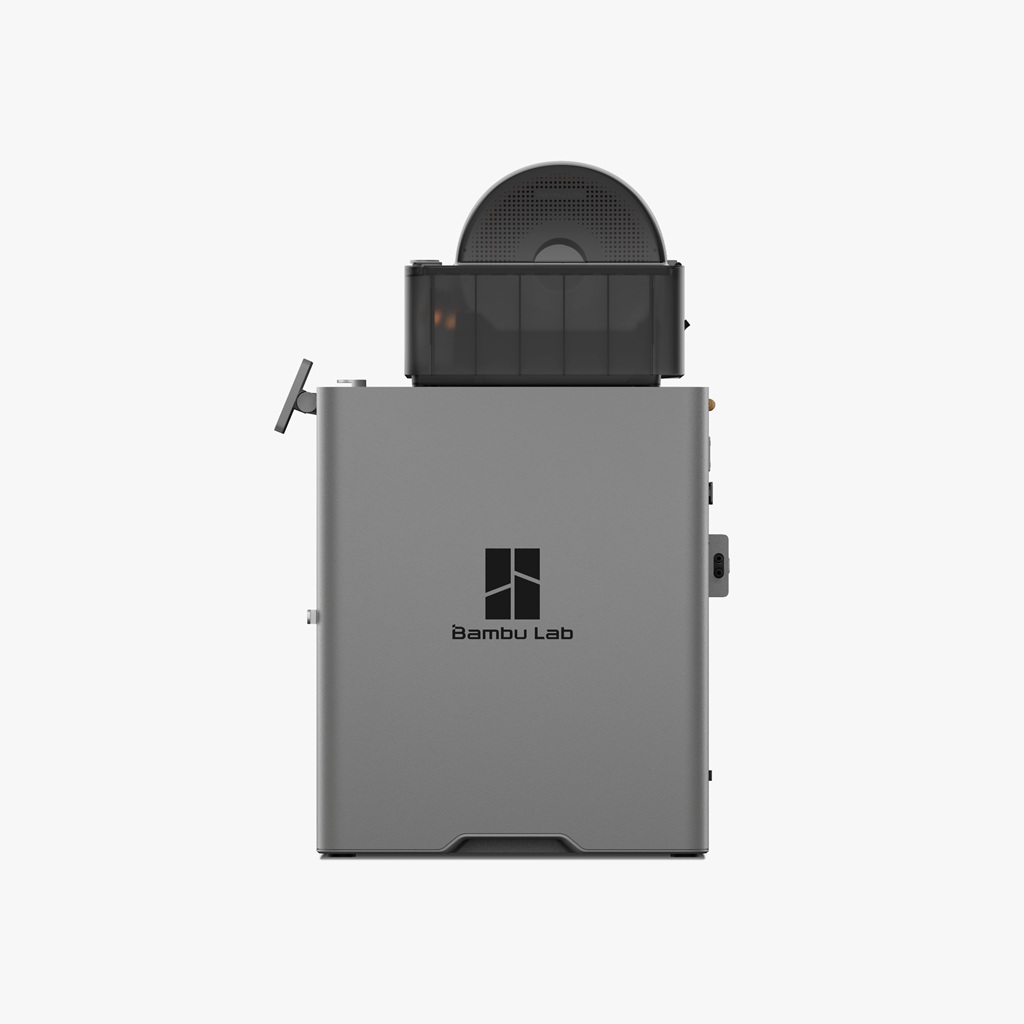
As I mentioned, I bought two of the P2S Combo on June 15, 2026 after they went on sale for the first time at $699.00 each. This is what I paid for the P1S, and this time the printers came with the AMS 2 Pro, which has active drying.
Setting Up the P2S
As with the A1 and P1S, I went to the official Bambu Lab YouTube channel to watch the unboxing / setup video.
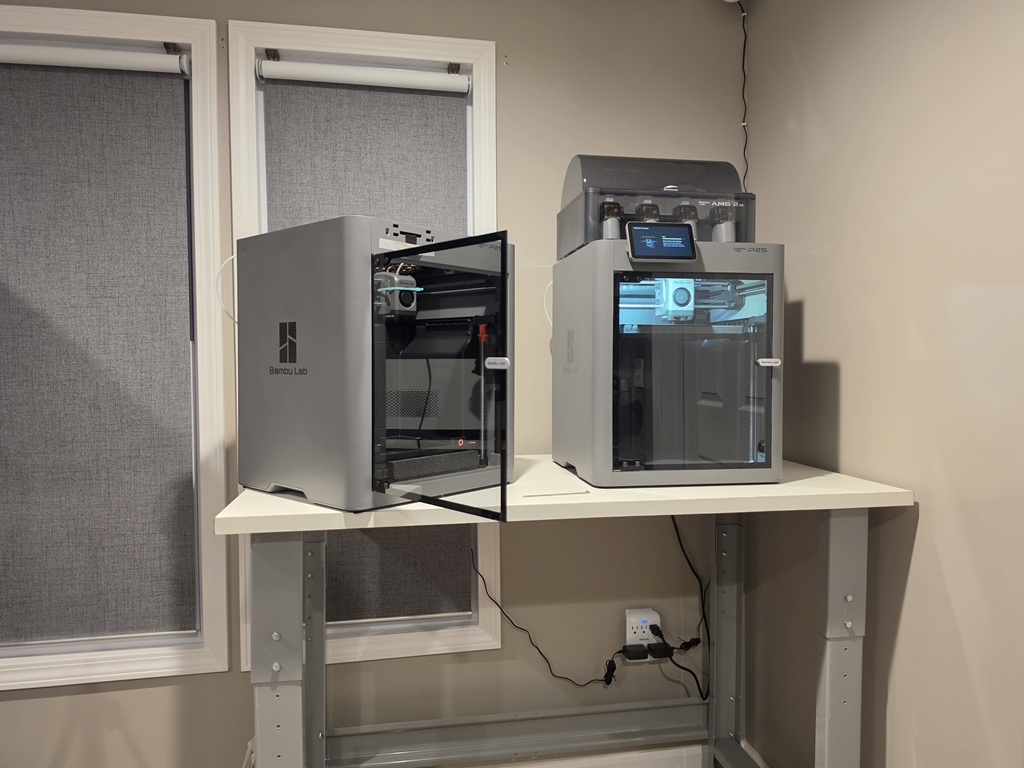
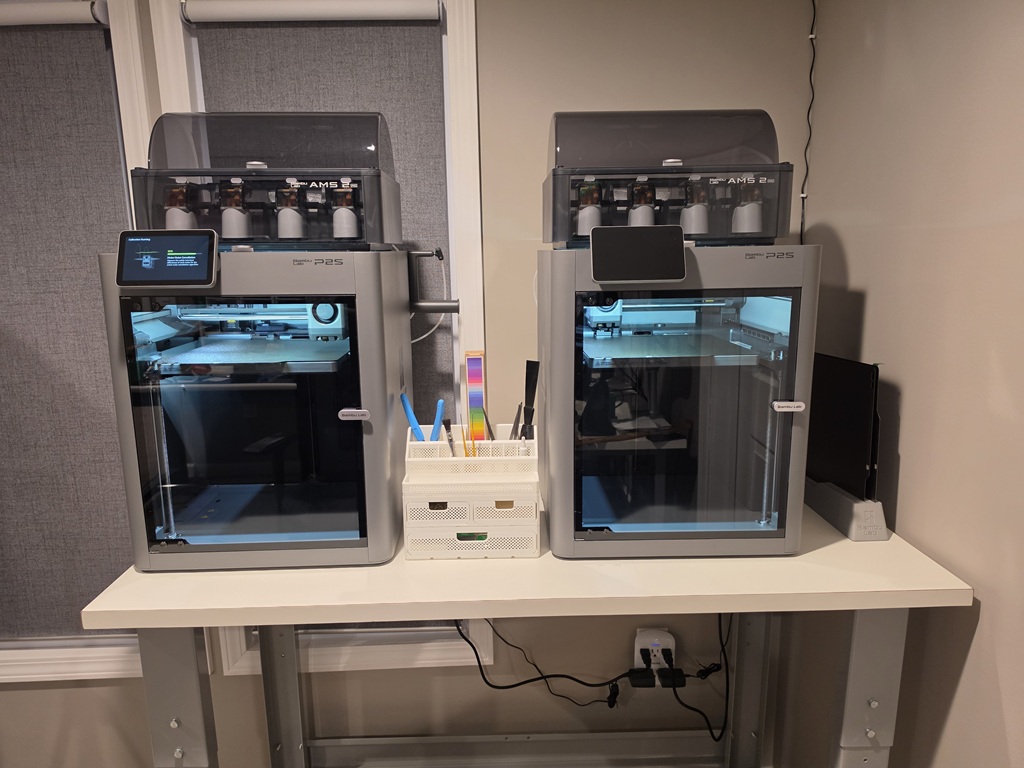
I completed this without any issues, however, I did have one glitch on both printers; even though I believe I had inserted the filament tube into the AMS correctly, both tubes popped out the first time filament tried to feed into the printer. Not sure why it happened, and it didn’t happen again, though it did cause me to want to ensure everything was working properly for a few prints before I trusted things to work normally.
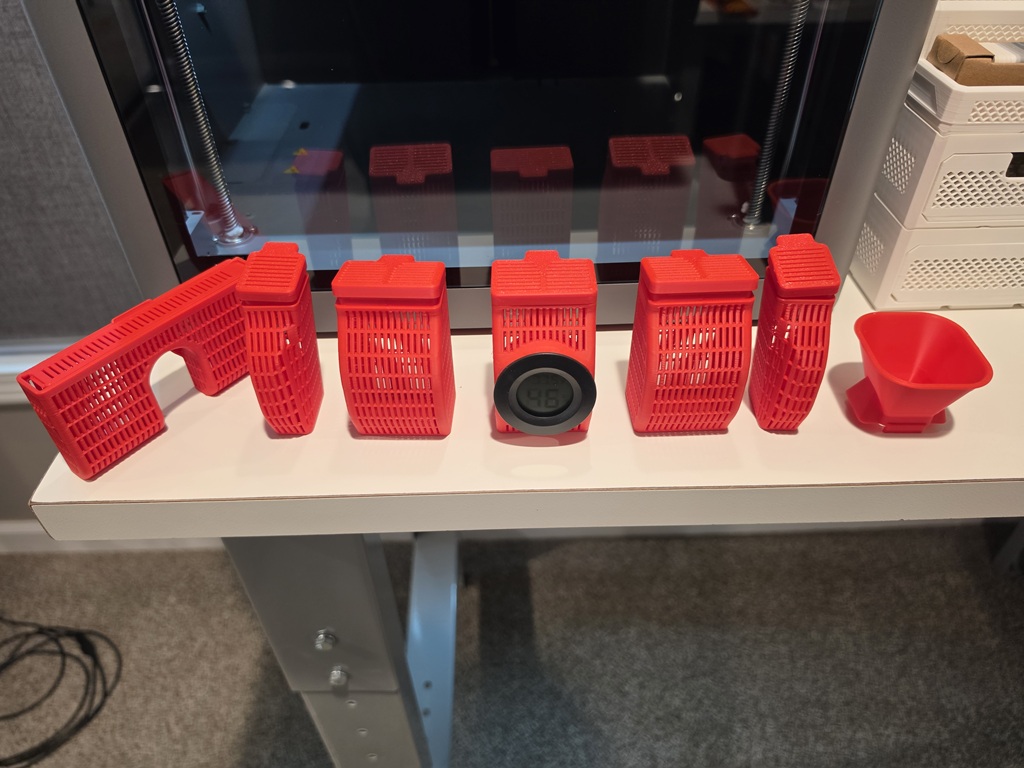
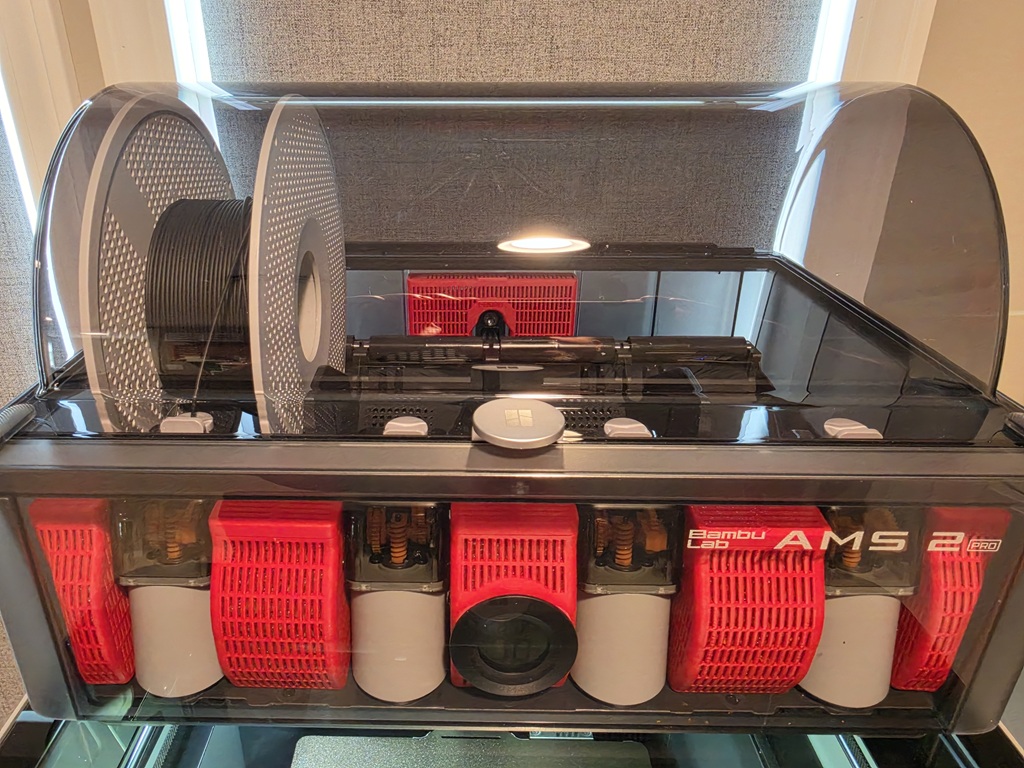
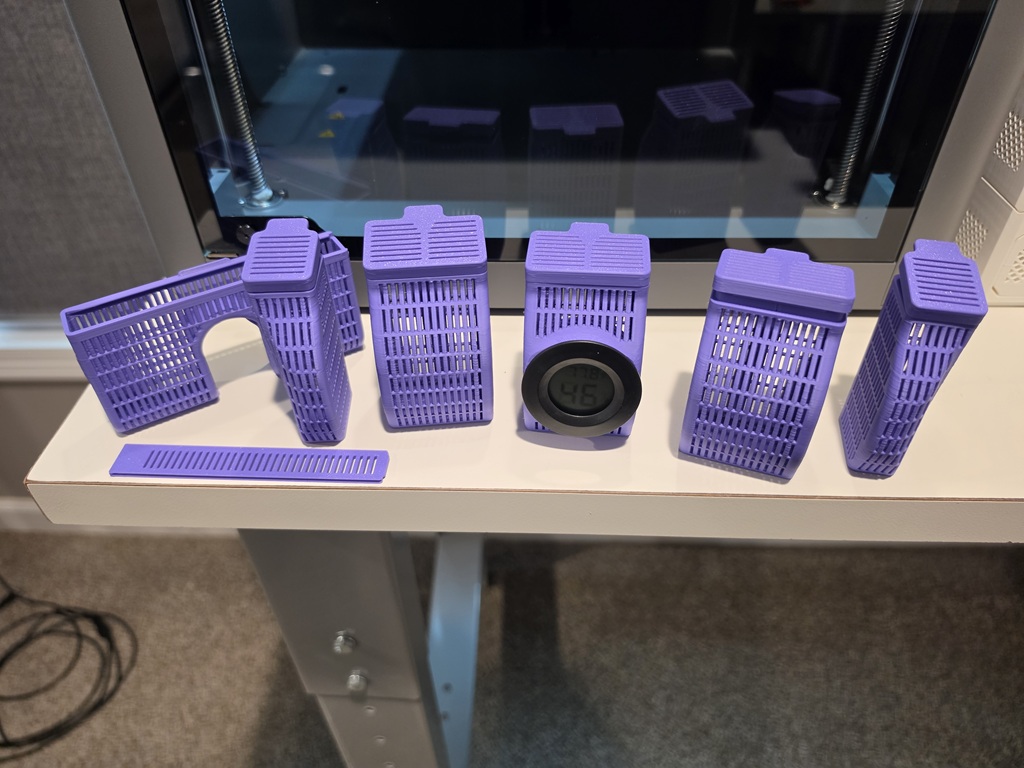
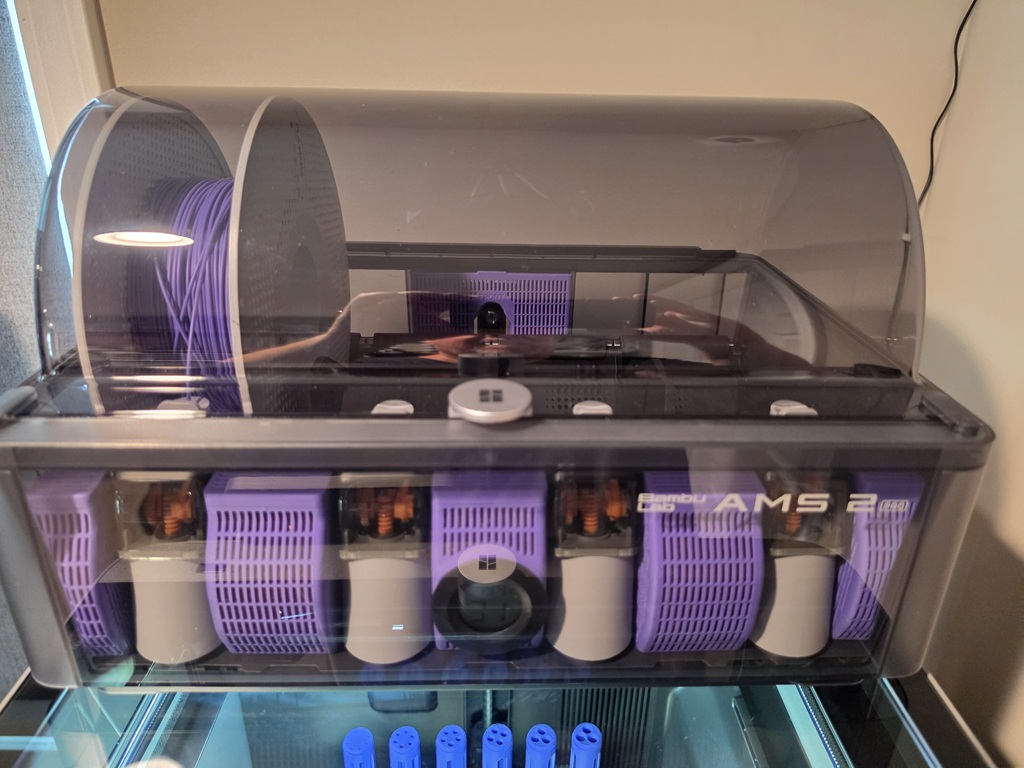
Even though the AMS 2 Pro has active drying and is sealed, I noticed that most people who have it still install dry boxes in their systems. Having had moisture issues on the A1, I decided that I was going to go overboard myself and add the dry boxes to the AMS 2 Pro units. I chose these AMS 2 Pro Dry Pods and also the matching AMS 2 Pro Rear Desiccant Box. I printed one set in red and installed those in the first P2S. I printed the next set in purple and installed those in the second P2S. The hydrometer recommended was installed on each set and desiccant was added to all the pods.
Initial Thoughts
Since the P2S is essentially the P1S “reimagined”, as Bambu Lab says, I expected a better experience than the P1S. The display is one of the most obvious upgrades, being a color touch screen, rather than the non-touch, monochrome screen on the P1S. BY the way, when the printer is ready to print, it displays these random messages on the screen that are quite amusing, some channeling pop-culture references. For an example of what I mean, see this thread on the Savage///Chats forums: Things My Printer Says
The AMS 2 Pro is also an obvious upgrade from the AMS that came with the P1S. There is more shrouding inside the P2S, although it’s not clear if it improves anything. The current revision of the P2S is directly compatible with exhaust fans, which can help remove toxic fumes when printing with certain materials. This was actually another consideration in my purchase, though I have not yet printed with these materials. In anticipation, I did purchase the exhaust fans themselves, though I found out afterward you must print the support parts. Still, I am ready for when I need to print ABS.
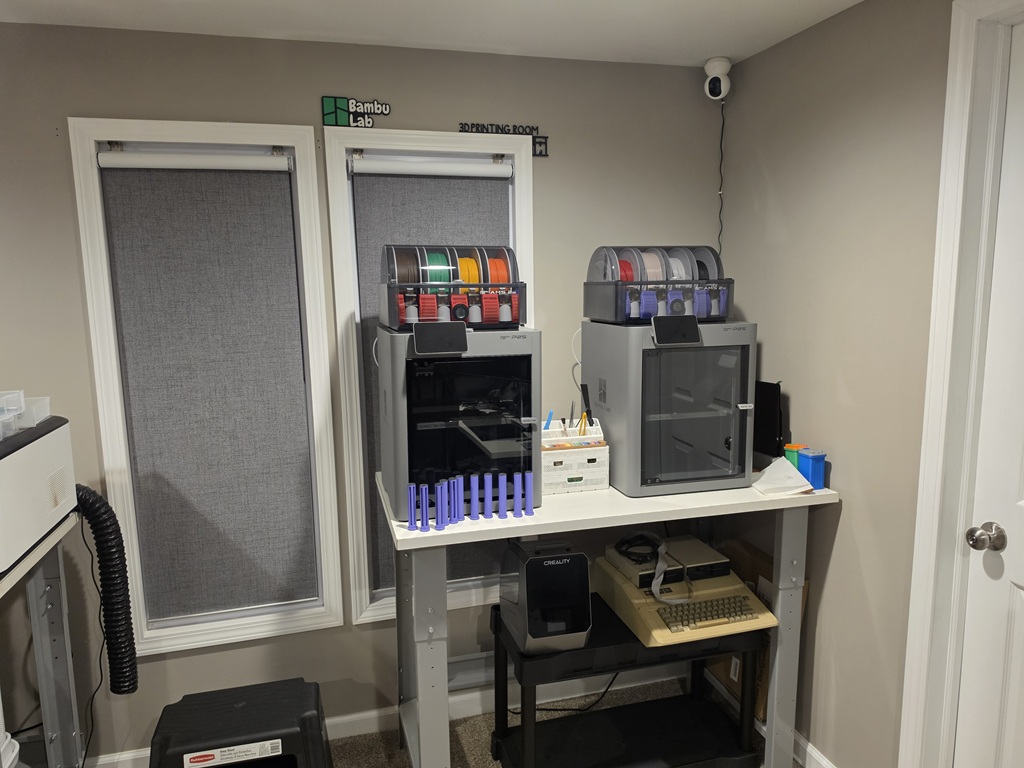
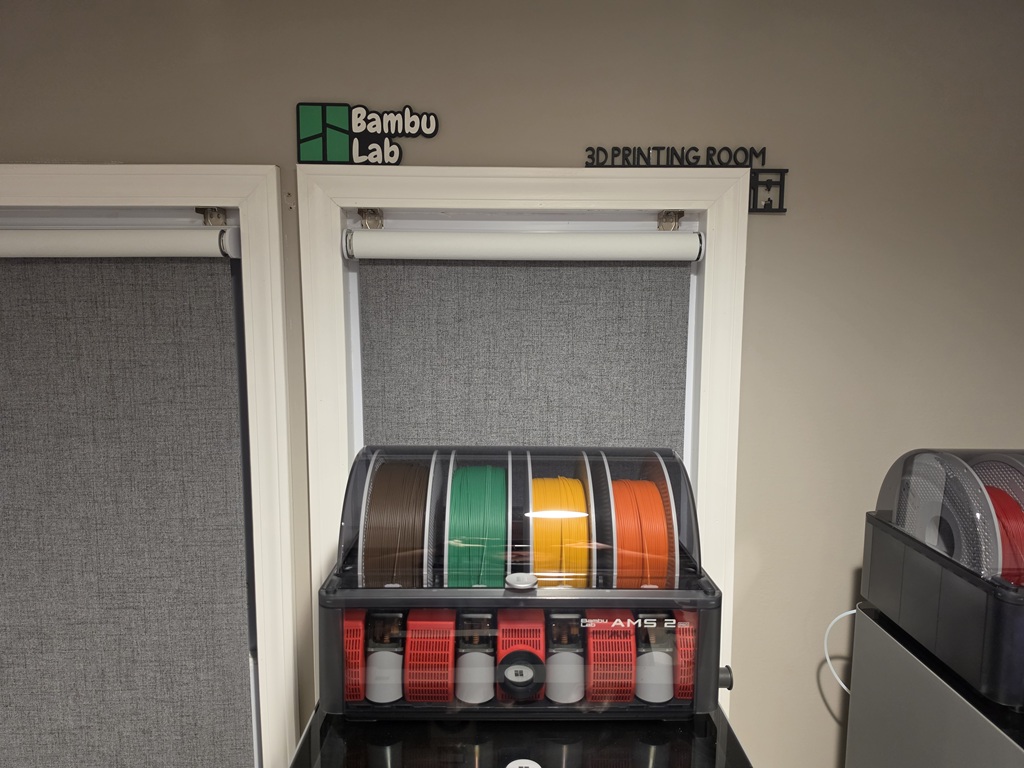
These photos who how my 3D Printer bench looks now after getting things set up the way I wanted. As you can see, I put up some signs related to 3D printing. More are being hung now.
Current Experiences / Issues
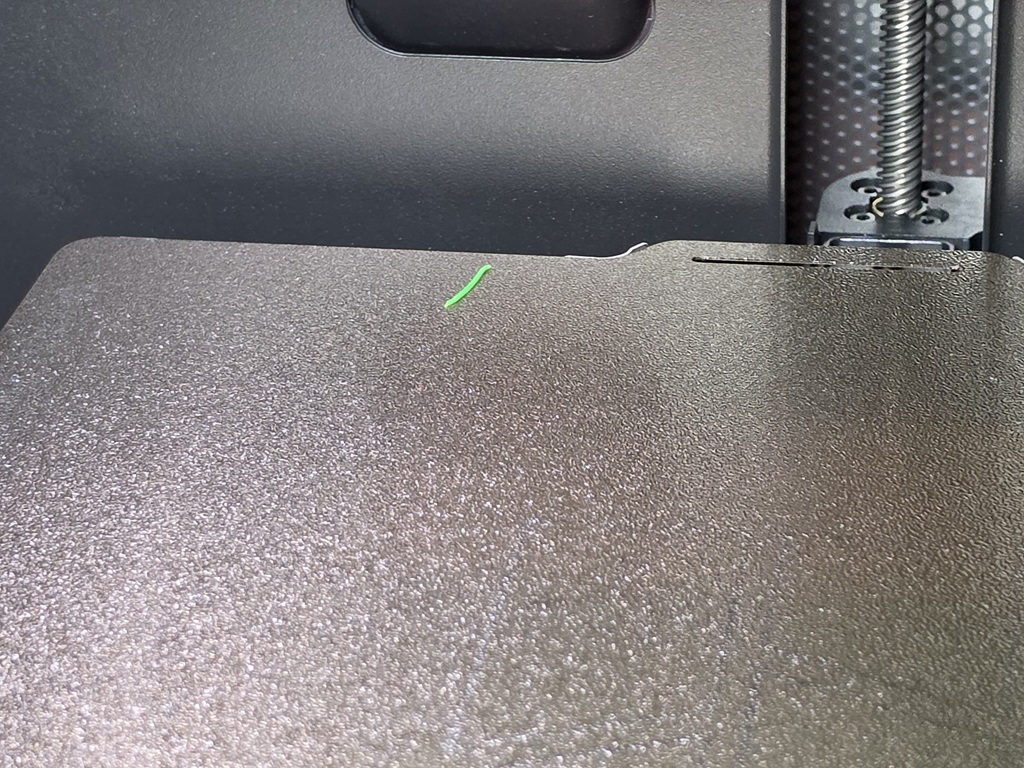
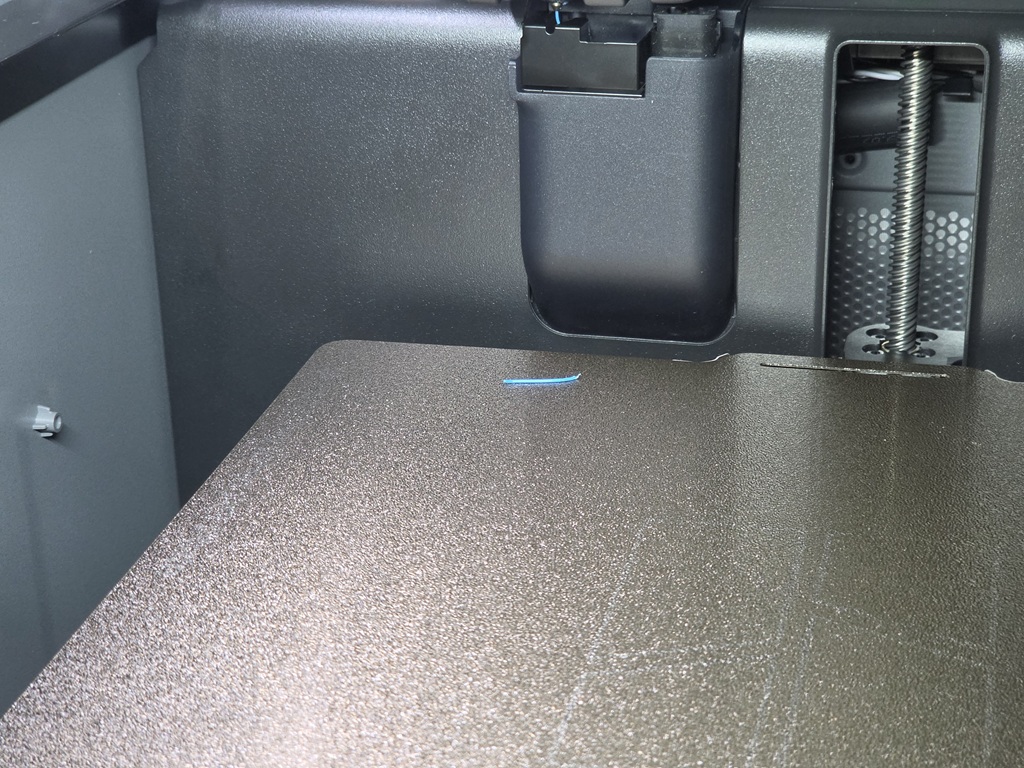
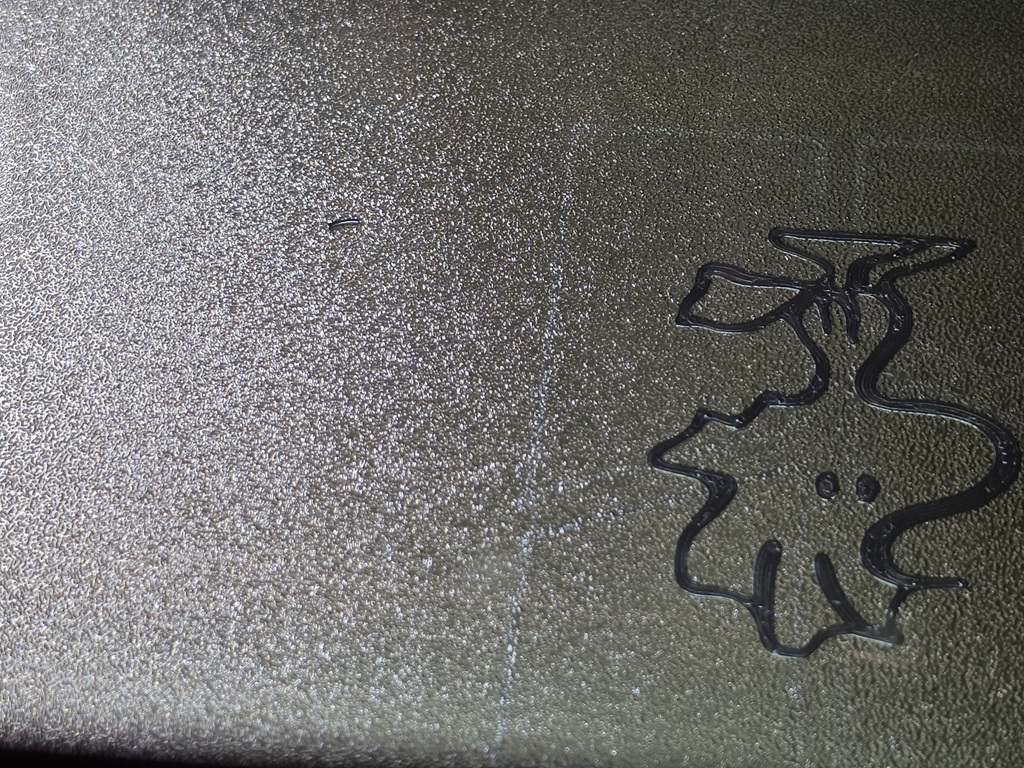
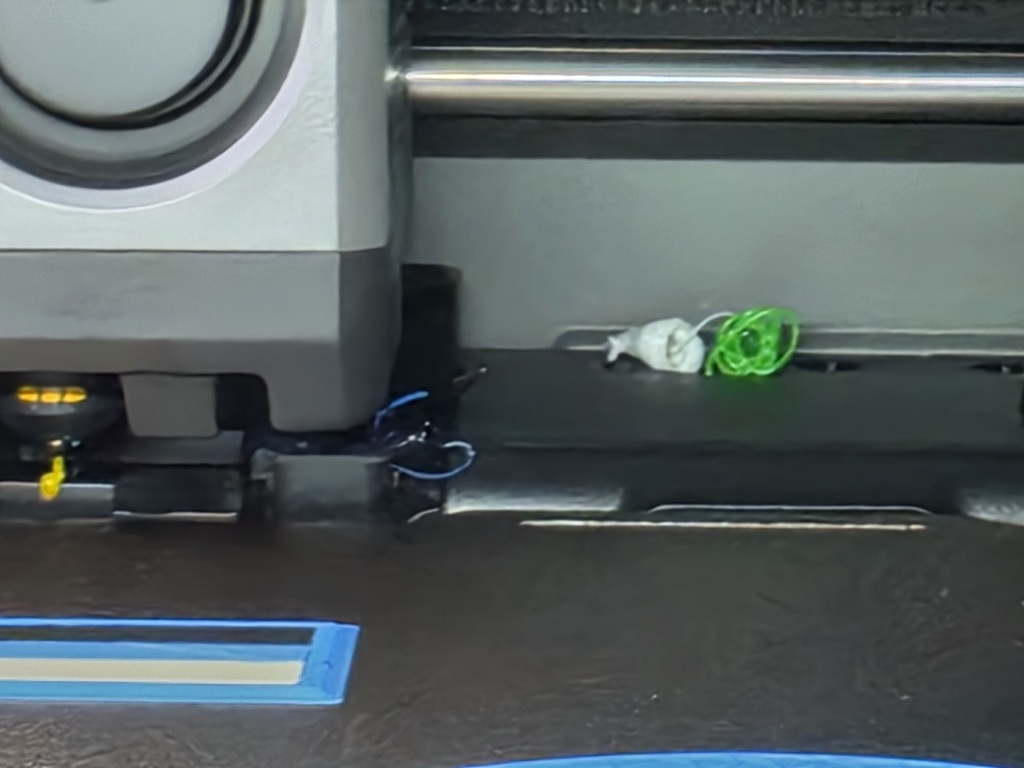
I will admit that I’ve had a few issues, not including the filament tubes popping out as mentioned during setup. First of all, during some of the initial prints, there were random pieces of filament that were randomly landing on the plate while printing. This sometimes caused issues during printing. See the first three photos above. The best I can tell, sometimes the filament would be knocked off the nozzle as it was cleaning itself. In the last photo above, you can see where the waste (poop) somehow ends up on the back panel or sometimes even jammed behind the cleaning pad.
Another issue that bothered me a little was the waste chute itself. Everything I read online indicated that the chute was compatible with the P1S, and so any waste bins for the P1S should work just fine. My favorite waste bin for the P1S was this Poop bucket for X1/P1, which worked great on the P1S, but would not fully insert into the P2S, forcing me to find an alternative, in this case, this Quick Release Poop Bucket. It works, but is smaller, and therefore fills up quicker. It is also more difficult to see how full it is behind the printer. I was also disappointed, since I printed two of the original one, having wasted that filament.
I had one clogged nozzle issue on the A1. It was a long time before it happened. With ~100 hours, the nozzle on the second P2S clogged somehow causing print issues to the point where things finally shut down with an extruder error. It was basically having trouble moving filament through the Hotend. I should have cleaned it out (or tried to), but replacing the Hotend solved the issue. Fortunately, I purchased two replacements when I ordered the printers. I will revisit this issue later as the Hotends are ~$18.00 each.
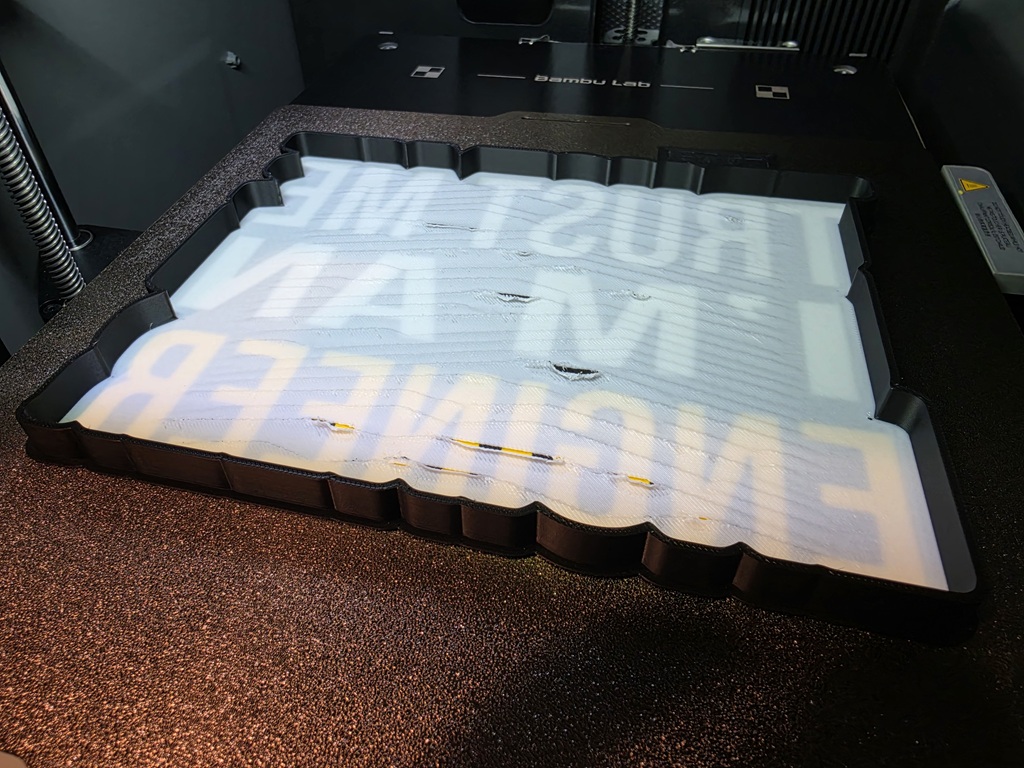
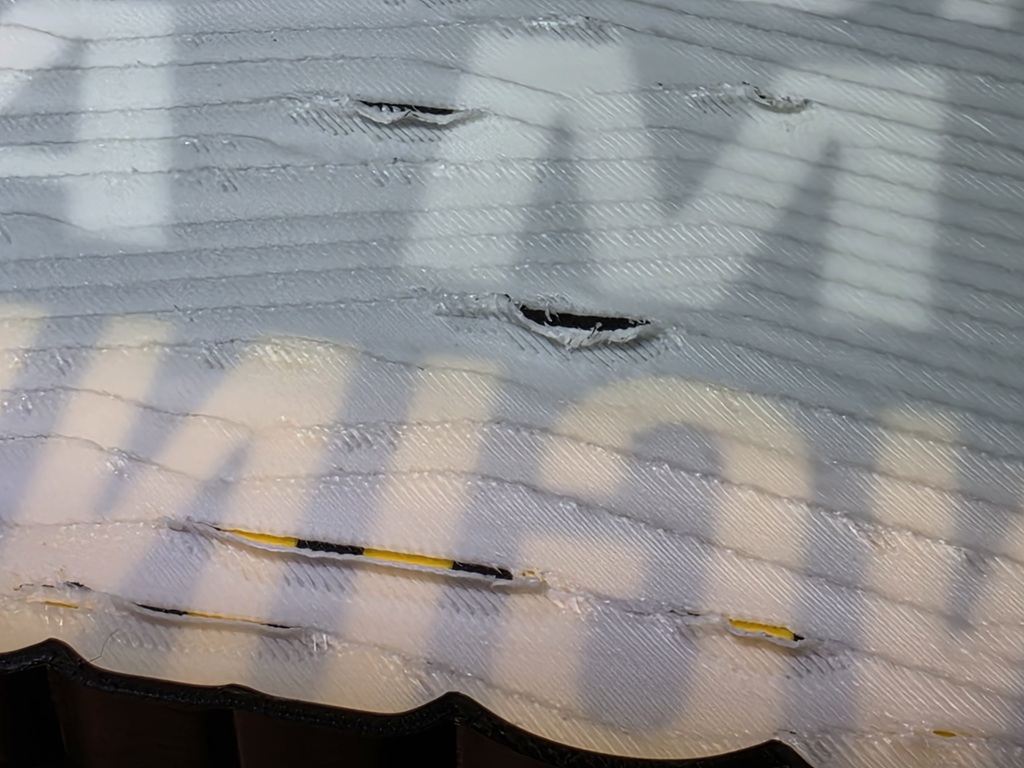
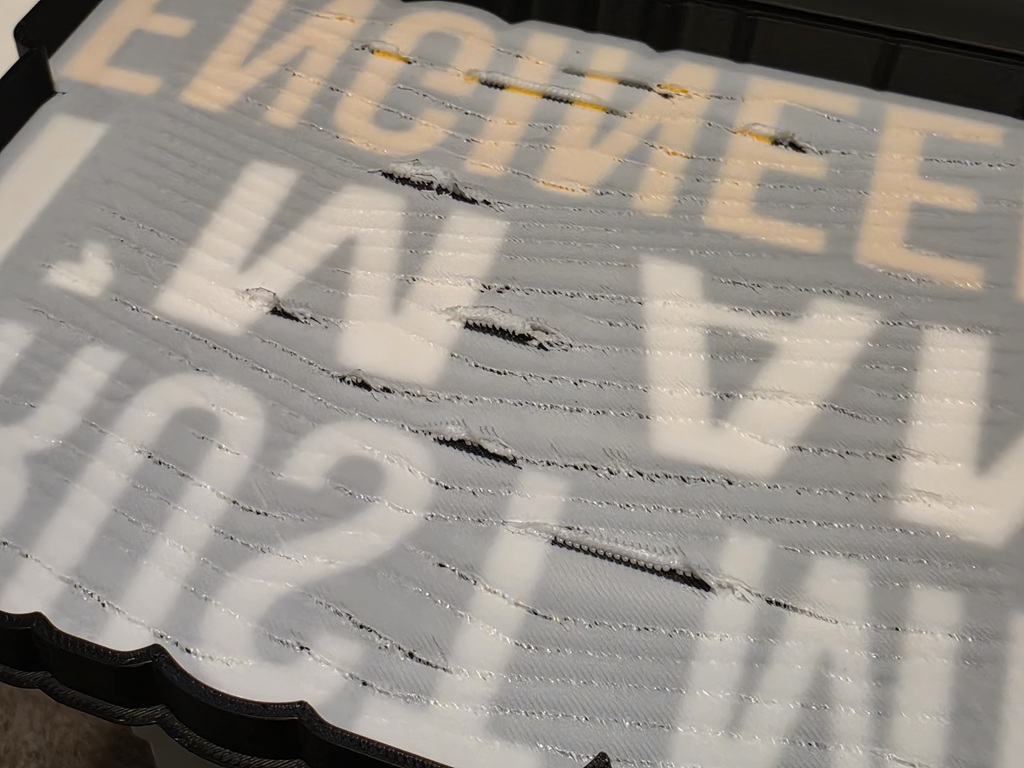
Finally, I experienced this weird issue while printing a lightbox. My assumption was that it was an issue with the print profile, but nobody else reported the issue on any other model printer. I started over with new filament, but once again, when it got to this white layer inside the lettering, the same thing happened, so I gave up on that print.
Printing Examples
While there have been quite a few bad prints (more than the A1 or P1S), I have had just as many good prints.
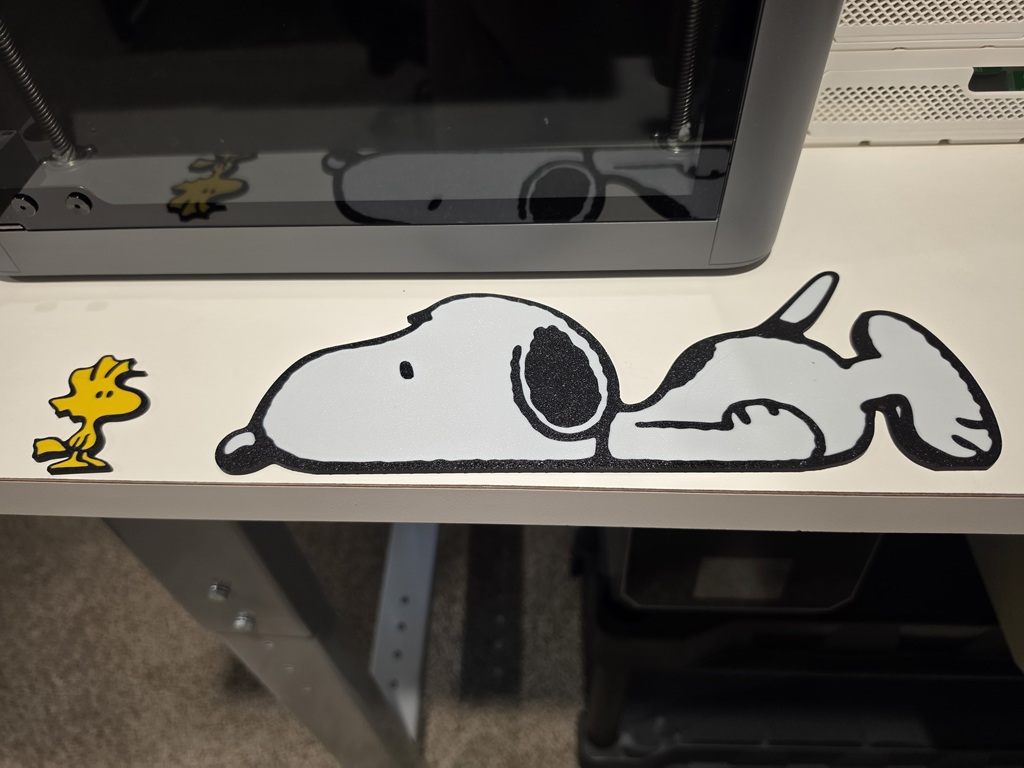
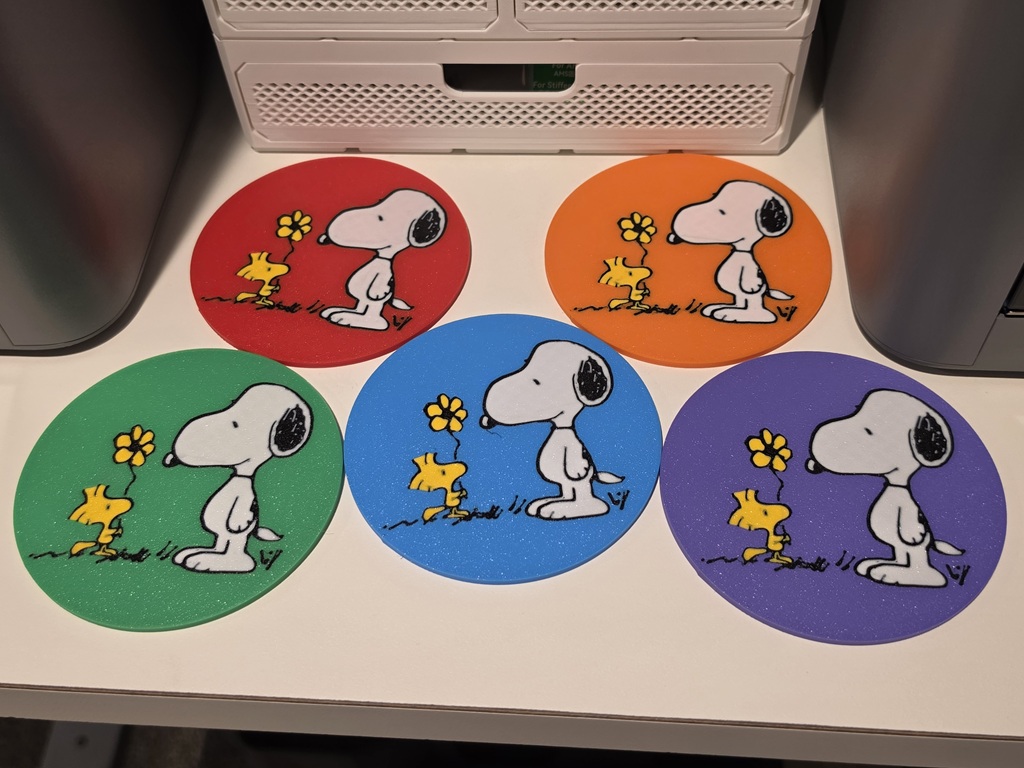
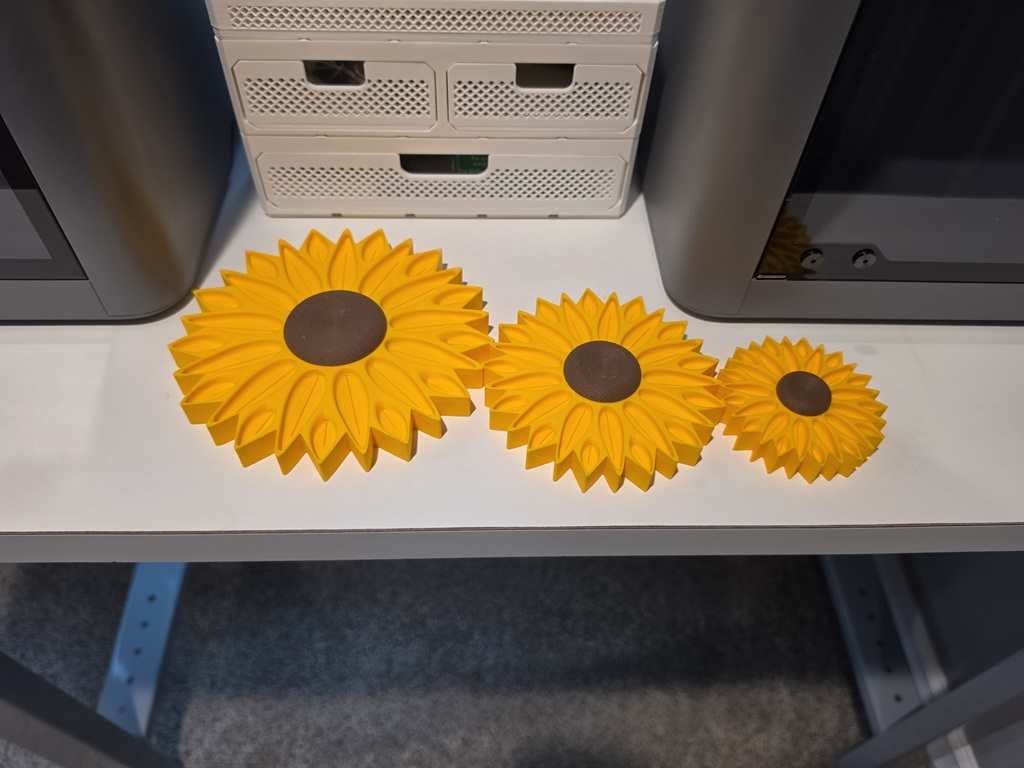
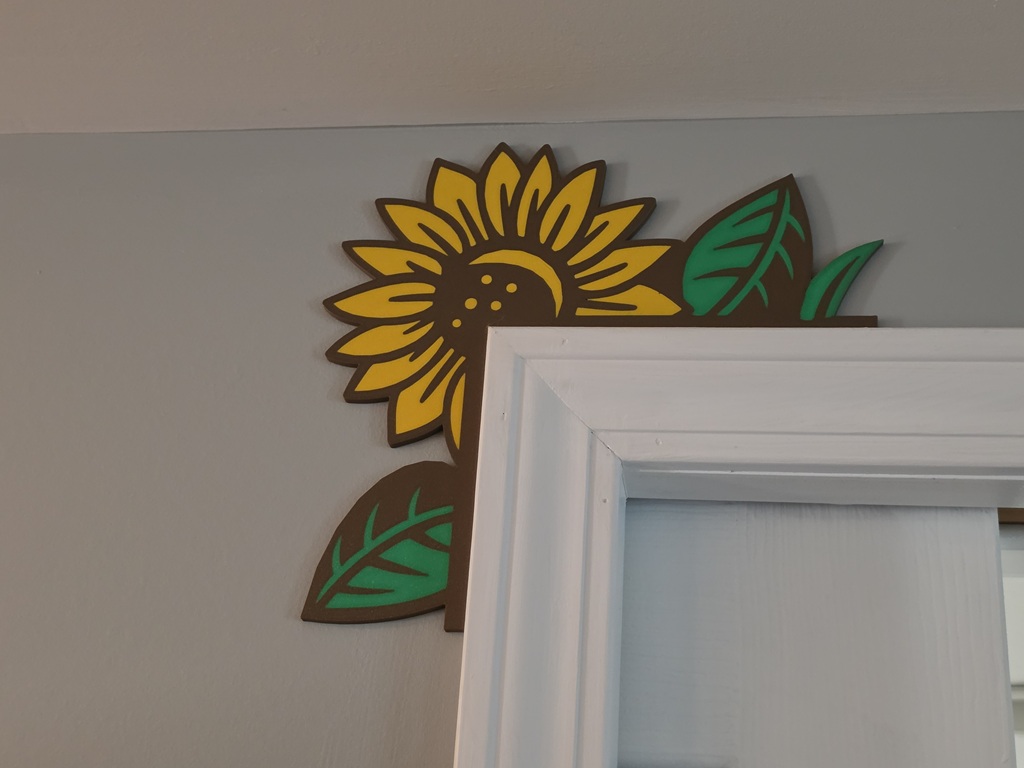
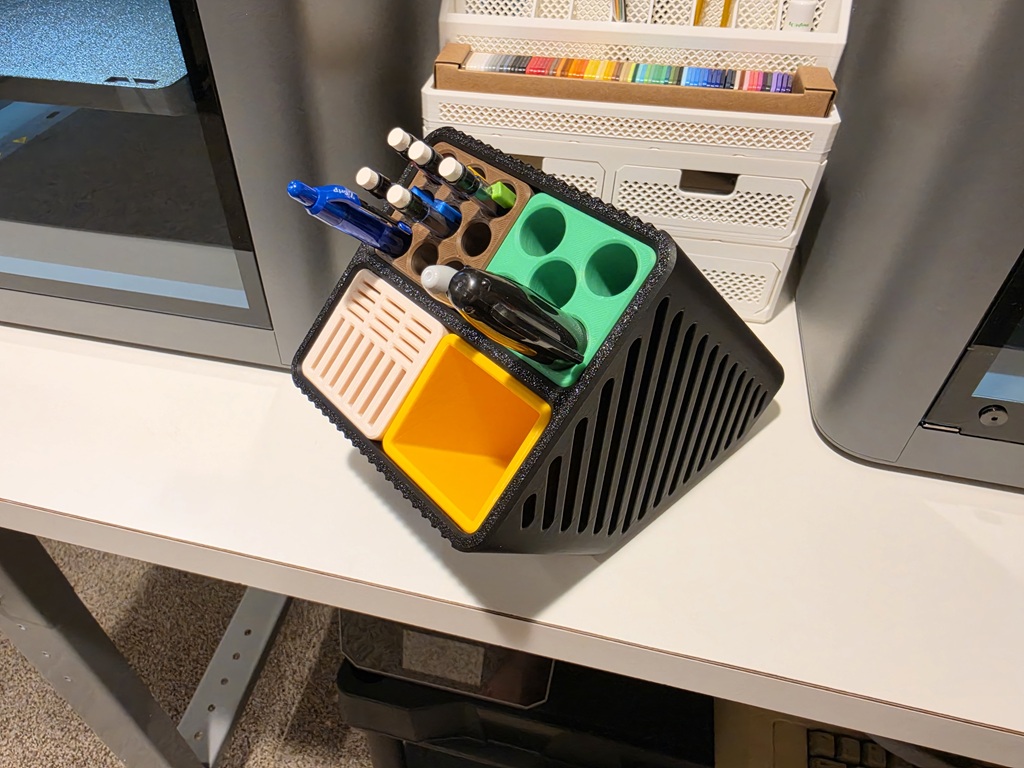
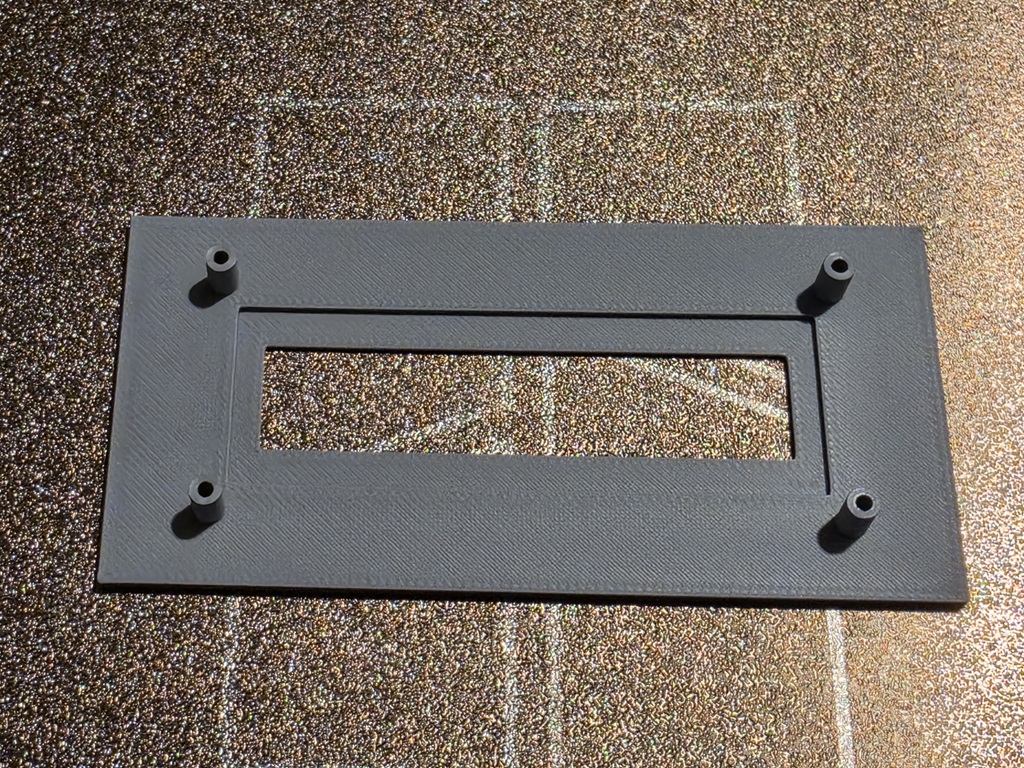
Most of these are prints I made for my wife. She’s a huge Peanuts fan, but also loves Sunflowers. Each of these prints came out beautifully, so I know this printer is capable doing great work. The Pen / Pencil holder is configurable. You can find more details on it here: Module ⬝ Desk Organizer
The LCD Bezel is representative of the primary reason I bought these printers (including the A1 and P1S). As an engineer, I like to create things. Sometimes this requires custom hardware work, which can involve laser cutting / engraving or 3D Printing to create custom parts. 3D Printing has so many advantages over the laser cutter / engraver, however, each has their pros / cons, and I find it useful to have both.
Assessment
There are many features and improvements over the P1S here within the P2S, like the Color Touch Screen (huge bonus), AI Issue-Detecting High-Resolution Camera, Real-Time view of printing, USB ports for storage of photos / video (Time-Lapse), Thermal Airflow Management, including the ability to have external exhaust, and the improvement nozzle and extruder. Replacement of the nozzle is like the A1 now, no tools required. Let’s not forget the AMD 2 Pro.
All that said, it seems like there are some things that still need work and I am as of yet uncertain if these can be addressed by firmware updates. For example, the random pieces of filament that fall onto the plate. This could be a constant problem. I want to think that the bad prints are something to do with the profiles, which could indicate that issue can improve, but I can’t prove that at the moment. I also know they’ve revised the P2S at least once since the release, as when you purchase the air filter system, there’s an optional back panel for older printers. I’m inclined the suggest that those thinking about purchasing the P2S wait until they shake some of the bugs out and / or improve the firmware.
Resources
Bambu Lab P2S 3D Printer Store Page – External Link
Bambu Lab A1 3D Printer – Review
